 Skip to content


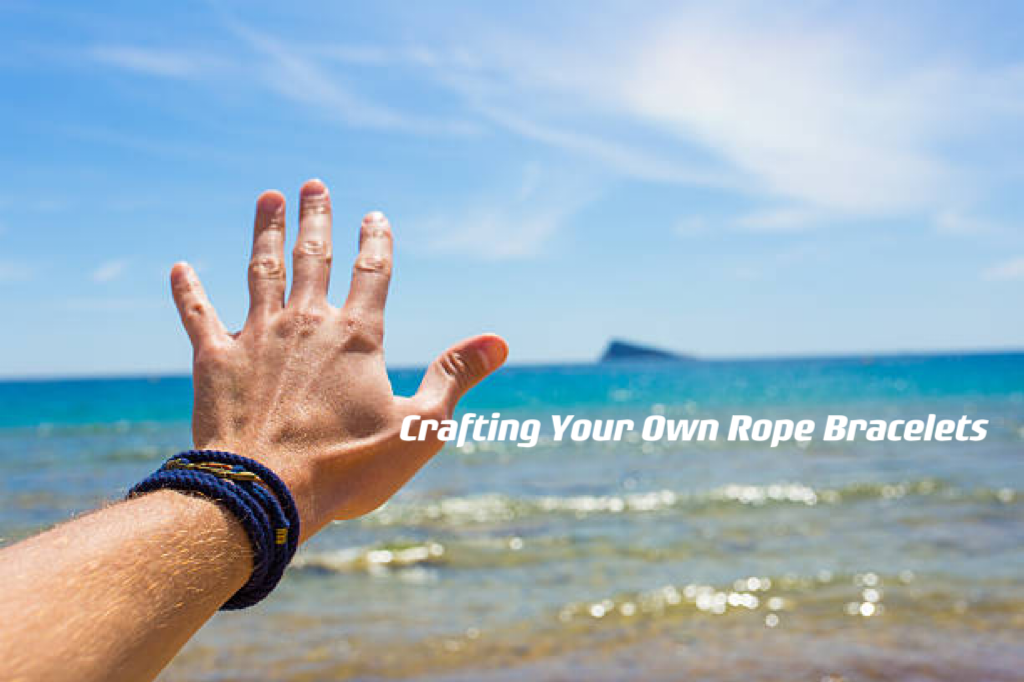
Rope bracelets are a timeless and versatile accessory that can complement any style, from casual to chic. Crafting your own rope bracelet allows you to personalize your jewelry collection, express your creativity, and wear something unique. In this DIY guide, we'll explore the steps to create your very own rope bracelet.
Hades Bracelet Chain – Oraneden
Materials Needed:
Rope: Choose your preferred type of rope, such as nylon, cotton, leather, or paracord. The thickness and color of the rope can be customized to suit your taste and style.
Clasps or Closure: Options include lobster clasps, magnetic clasps, or simple knots for closure.
Scissors: A good pair of scissors for cutting the rope.
Glue (optional): A strong adhesive to secure the knots and ensure durability.
Tape Measure: To measure the length of the rope for your wrist.
Beads, Charms, or Decorative Elements (optional): To add a unique touch to your bracelet.

Steps to Make a Rope Bracelet:
- Measure and Cut the Rope:
Start by measuring the desired length for your bracelet. Typically, wrist sizes vary, so measure your wrist and add a little extra length for a comfortable fit. Cut the rope to this measured length.
- Prepare the Clasp:
If you're using a clasp, attach it to one end of the rope. Follow the specific instructions for your chosen clasp type.
- Braid or Knot the Rope:
Depending on your preferred design, you can create a braid or simply tie knots along the length of the rope. For a simple knot design, make three or more knots evenly spaced throughout the rope.
- Add Beads or Charms (optional):
If you'd like to add beads or charms, thread them onto the rope before securing the ends. You can space them out evenly or create a pattern.
- Create a Loop (optional):
On the opposite end of the clasp, create a loop to fit the clasp or closure through. Make a knot or braid a loop using a portion of the rope.
- Attach the Closure:
Connect the clasp to the loop you created, ensuring it is secure and can hold the bracelet in place.
- Trim Excess Rope:
Trim any excess rope and make sure the knots, braids, or closures are secure. If desired, you can apply a small amount of glue to reinforce the knots.
- Allow to Dry (if using glue):
If you used glue, allow the bracelet to dry completely before wearing it.
Congratulations! You've successfully created your own rope bracelet. Experiment with different rope types, colors, and designs to craft bracelets that match your personality and style. Rope bracelets are perfect for stacking, mixing, and matching, allowing you to create a variety of looks to suit any occasion. Happy crafting!