As winter blankets the world in a glistening layer of snow, it's the perfect time to embrace the season by creating beautiful snowflake earrings. This do-it-yourself project allows you to showcase your creativity while adding a touch of winter wonder to your jewelry collection. Whether you're a crafting enthusiast or a beginner, follow this step-by-step guide to make your own stunning snowflake earrings.
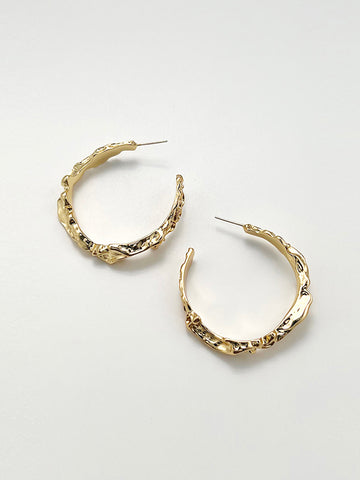
Thawy Gold Alloy Hoop Earrings – Oraneden
Materials Needed:
1.Small silver or white polymer clay
2.Earring hooks
3.Jump rings
4.Needle tool or toothpick
5.Rolling pin
6.Snowflake-shaped cookie cutter
7.Small round bead or crystal for embellishment
8.Baking sheet
9.Parchment paper
10.Super glue or jewelry glue
11.Small paintbrush
12.Silver or white acrylic paint (optional)
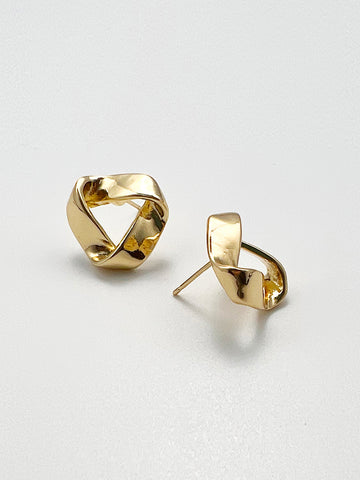
Tierce Petite Gold Earrings – Oraneden
Instructions:
1.Prepare Your Workspace:
Set up a clean and well-lit workspace. Lay down parchment paper to prevent the clay from sticking to your surface.
2.Condition the Clay:
Take a small portion of polymer clay and knead it in your hands to soften and condition it. Roll it into a ball, ensuring there are no air bubbles.
3.Roll Out the Clay:
Use a rolling pin to flatten the clay to a thickness of about 1/8 inch. Aim for a smooth and even surface.
4.Cut Out Snowflake Shapes:
Press the snowflake-shaped cookie cutter firmly into the clay to create your snowflake shapes. Carefully remove the excess clay around the snowflake.
5.Add Details with Needle Tool:
Use a needle tool or toothpick to create intricate details on the snowflake. Make small lines and patterns to mimic the delicate nature of real snowflakes.
6.Create a Hole for the Earring Hook:
Using the needle tool or toothpick, create a small hole near the top of each snowflake. This is where you'll attach the earring hooks later.
7.Bake the Snowflakes:
Place the snowflakes on a parchment paper-lined baking sheet and bake them according to the instructions on the polymer clay packaging. Typically, it's around 275°F (135°C) for 15-20 minutes.
8.Let Them Cool:
Allow the snowflakes to cool completely before handling them. They should be firm and durable once cooled.
9.Painting (Optional):
If you want to add a touch of color or shine, use a small paintbrush to apply silver or white acrylic paint to the raised parts of the snowflakes. Allow the paint to dry completely.
10.Attach Jump Rings and Earring Hooks:
Open the jump rings using jewelry pliers and attach them to the holes in the snowflakes. Connect the earring hooks to the jump rings and close them securely.
11.Add Embellishments:
For an extra sparkle, glue a small round bead or crystal in the center of each snowflake using super glue or jewelry glue.
12.Final Touch:
Inspect your earrings and make any necessary adjustments. Your beautiful snowflake earrings are now ready to be worn or gifted!
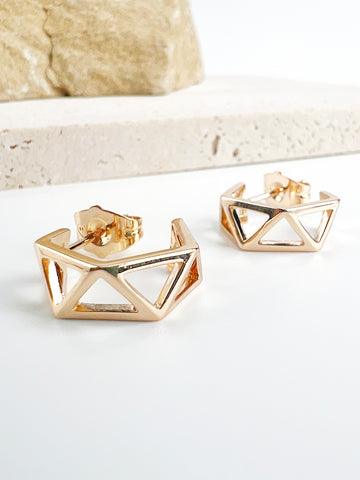
Grille Simple Gold Stud Earrings – Oraneden
Creating your own snowflake earrings is a delightful way to celebrate the winter season and express your unique style. These charming accessories are not only a fun and creative project but also make for thoughtful handmade gifts for friends and loved ones. Enjoy the process of crafting and wearing your personalized snowflake earrings that capture the magic of winter.


