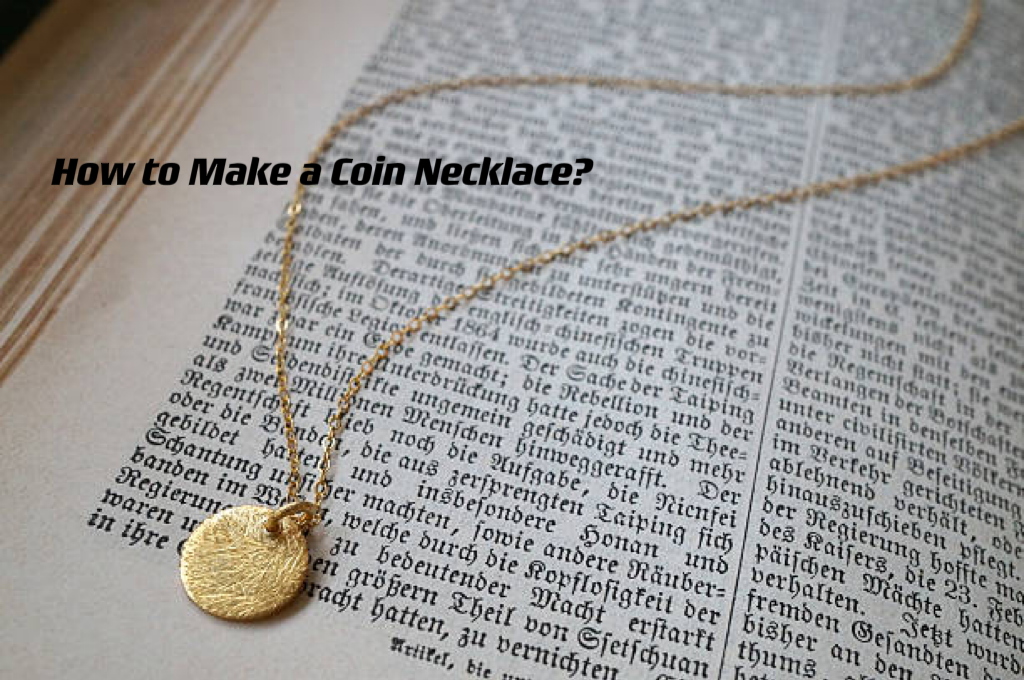
In the world of jewelry, there's a certain charm and allure to pieces that carry historical or sentimental value. One such timeless creation is the coin necklace—a unique accessory that not only adds a touch of vintage elegance to your ensemble but also tells a story. Crafting your own coin necklace can be a rewarding and creative endeavor, allowing you to personalize your jewelry collection. In this step-by-step guide, we'll explore how to make a coin necklace that is not only visually appealing but also holds personal significance.
Materials Needed:
Coins: Choose coins with meaningful symbols, significant years, or those from your travels. Ensure they are clean and in good condition.
Chain: Select a chain that complements the size and style of your coins. Common choices include sterling silver, gold-filled, or antique brass chains.
Jump Rings: These small, circular connectors will be used to attach the coins to the chain.
Pliers: Round-nose pliers and flat-nose pliers are essential for opening and closing jump rings.
Wire Cutters: To trim excess chain or jump ring wire.
Lobster Clasp: If your chain doesn't come with a clasp, you'll need one to secure the necklace around your neck.
Jewelry Glue: Optional, for added security in attaching coins.
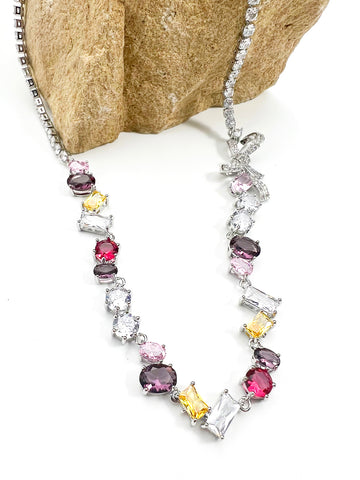
Extraterrestrial Necklace – Oraneden
Step 1: Selecting Coins
Begin by choosing the coins you want to feature in your necklace. Look for coins that have special meaning to you, whether they're from a significant year, represent your heritage, or remind you of memorable travels. Clean the coins gently using a soft cloth if needed.
Step 2: Planning the Design
Lay out your coins in the desired order to plan the design of your necklace. Consider the size and shape of each coin and how they will hang on the chain. Experiment with different arrangements until you find a visually pleasing design.
Step 3: Attaching Jump Rings
Using your round-nose pliers, carefully open a jump ring by twisting it sideways (avoid pulling it apart). Thread the jump ring through the hole in the coin and attach it to the chain. Close the jump ring securely using the pliers. Repeat this step for each coin, spacing them evenly along the chain.
Step 4: Adding a Clasp
If your chain doesn't have a clasp, attach one using a jump ring at one end. This will allow you to easily fasten and unfasten your necklace.
Step 5: Securing with Jewelry Glue (Optional)
For added security, especially if the coins have larger holes, you can apply a small amount of jewelry glue to the inside of the coin holes before attaching the jump rings. This step is optional but can provide extra stability.
Step 6: Final Touches
Trim any excess chain using wire cutters and ensure that all jump rings are securely closed. Take a moment to inspect your coin necklace, adjusting the placement of the coins if necessary.
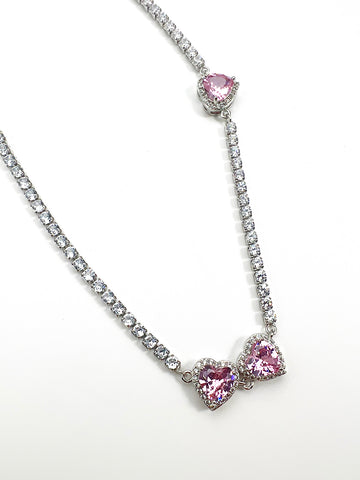
Kitty's Love Necklace – Oraneden
Crafting your own coin necklace is a delightful way to express your individuality and create a piece of jewelry with personal significance. Whether you choose coins with historical value, cultural significance, or sentimental meaning, your handmade coin necklace will be a timeless accessory that tells a unique story. Embrace the creative process, and enjoy the satisfaction of wearing a piece of jewelry that you've crafted with love and attention to detail.


