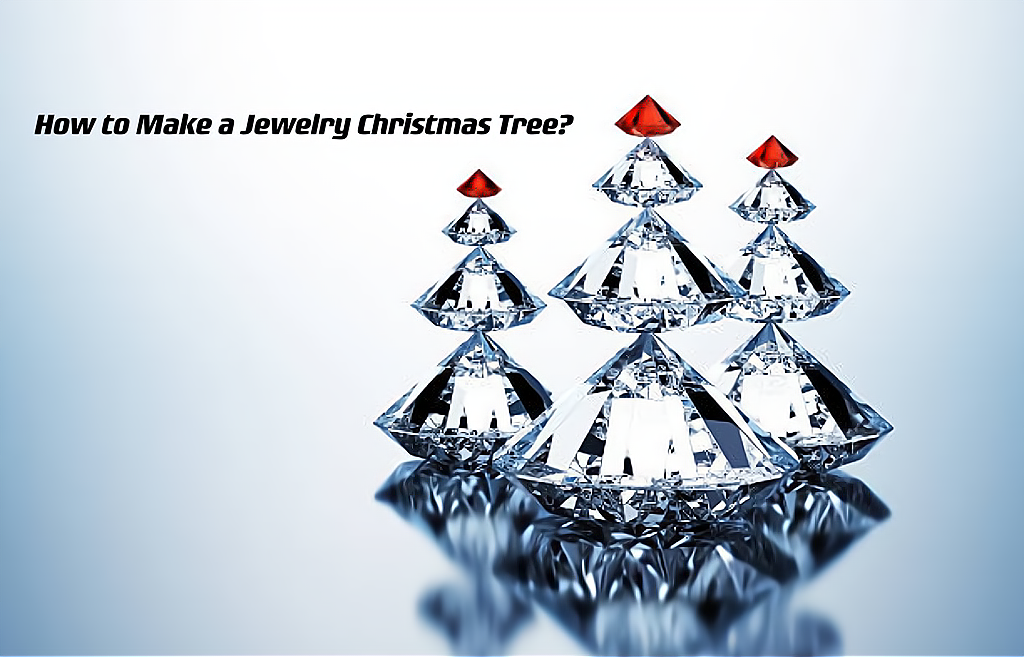
The holiday season is upon us, and what better way to infuse your home with festive cheer than by crafting a stunning Jewelry Christmas Tree? This unique and eye-catching decoration not only adds a touch of elegance to your space but also provides an opportunity to showcase your favorite pieces of jewelry in a creative and festive manner. In this step-by-step guide, we'll walk you through the process of making your very own Jewelry Christmas Tree.
Materials Needed:
Various pieces of jewelry (earrings, necklaces, bracelets, brooches)
A foam cone (available at craft stores)
Craft glue or hot glue gun
Small decorative ornaments (optional)
Ribbon or garland (optional)
Small LED lights (optional)
Scissors
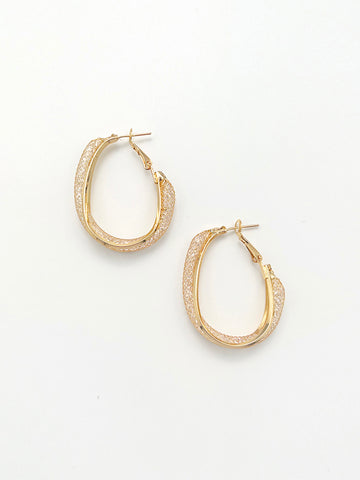
Galactic Gold Copper Hoop Earrings – Oraneden
Step 1: Gather Your Jewelry
Start by collecting a variety of jewelry pieces. Old or broken pieces that you no longer wear can be repurposed for this project. Consider using a mix of colors, shapes, and sizes to add visual interest to your Jewelry Christmas Tree.
Step 2: Prepare the Foam Cone
Place the foam cone on a stable surface. This will serve as the base for your Jewelry Christmas Tree. Ensure that the cone is clean and free of any debris. You can choose the size of the foam cone based on your preference and the amount of jewelry you have.
Step 3: Arrange and Plan
Before attaching any jewelry, lay out your pieces around the foam cone to plan the arrangement. This will help you visualize the final look and make adjustments as needed. Consider starting with larger pieces at the bottom and gradually using smaller ones as you move upward.
Step 4: Attach the Jewelry
Using craft glue or a hot glue gun, begin attaching the jewelry to the foam cone. Start at the base and work your way up. Be mindful of the placement of each piece to ensure a balanced and cohesive design. If you're using necklaces, you can drape them around the cone for added texture.
Step 5: Add Decorative Elements
Enhance the festive appeal of your Jewelry Christmas Tree by incorporating small decorative ornaments, ribbon, or garland. These elements can be attached using glue or simply nestled among the jewelry pieces. LED lights can also be added for a magical touch.
Step 6: Fill in the Gaps
Once the main pieces are attached, fill in any gaps or spaces with smaller jewelry items. This will create a fuller and more polished appearance. Consider using earrings, pins, or small brooches to add detail to your tree.
Step 7: Display Your Creation
Allow the glue to dry completely before moving or displaying your Jewelry Christmas Tree. Once it's ready, find the perfect spot to showcase your festive creation. Whether it's on a mantel, tabletop, or as a centerpiece, your Jewelry Christmas Tree is sure to be a conversation starter.
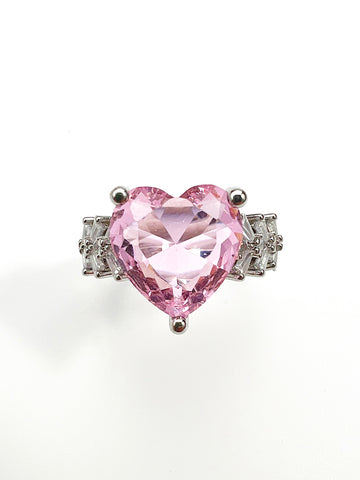
Coeur de fille Zircon Ring – Oraneden
Creating a Jewelry Christmas Tree is a delightful way to combine creativity and holiday spirit. This DIY project allows you to repurpose old jewelry while adding a personalized touch to your festive decor. Whether you choose to make it a family tradition or a one-time craft, your Jewelry Christmas Tree is sure to be a cherished holiday decoration for years to come.


