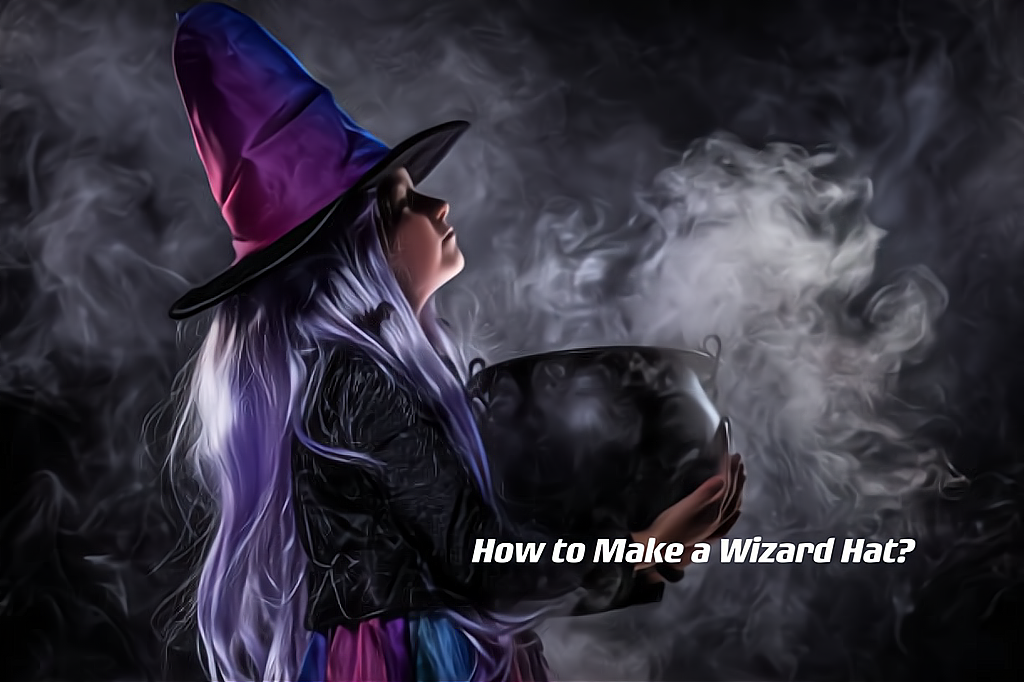
Embark on a mystical journey as we delve into the enchanting world of wizardry by crafting your very own wizard hat. Whether you're preparing for a costume party, a magical-themed event, or simply embracing your inner sorcerer, creating a wizard hat is a delightful and rewarding DIY project. With a dash of creativity and a sprinkle of magic, follow these step-by-step instructions to fashion a hat that will make you feel like you've stepped straight out of a fantasy realm.
Materials Needed:
Fabric: Choose a fabric that suits your magical vision. Velvet, satin, or even patterned materials work well for a wizard hat.
Cardboard or Poster Board: This will be the base for your hat, providing structure and shape.
Scissors: A good pair of fabric scissors will make the cutting process much smoother.
Glue Gun and Glue Sticks: To securely attach the fabric to the cardboard base.
Measuring Tape: For precise measurements to ensure a perfect fit.
Pencil and Paper: Sketch out your desired hat shape and dimensions before cutting the fabric.
Ruler: For straight and accurate lines.
Decorative Elements: Optional additions such as stars, moons, or other wizardly symbols.
Extraterrestrial Necklace – Oraneden
Step 1: Design Your Hat
Before diving into the crafting process, sketch out the design of your wizard hat. Consider the hat's height, brim width, and any additional embellishments you'd like to include.
Step 2: Measure and Cut the Cardboard
Using your measuring tape and ruler, determine the dimensions of your wizard hat. Draw and cut the desired shape from the cardboard or poster board. This will serve as the foundation for your hat.
Step 3: Cut the Fabric
Lay out your chosen fabric on a flat surface, and place the cardboard cutout on top. Trace around the cardboard, leaving a few extra inches for seam allowance. Cut out the fabric along the traced lines.
Step 4: Attach the Fabric to the Cardboard
Using a hot glue gun, carefully adhere the fabric to the cardboard cutout. Start by securing the edges and then work your way towards the center. Smooth out any wrinkles or bumps as you go along.
Step 5: Shape the Hat
Once the fabric is securely attached, mold the cardboard into a cone shape, forming the iconic wizard hat silhouette. Adjust the height and shape until you achieve the desired look.
Kitty's Love Necklace – Oraneden
Step 6: Create the Brim
If your wizard hat design includes a brim, cut a circular piece of cardboard and cover it with fabric. Attach the fabric-covered brim to the base of the hat using the hot glue gun.
Step 7: Add Decorative Elements
Get creative by adding embellishments such as stars, moons, or mystical symbols to personalize your wizard hat. These can be cut from additional fabric or crafted from felt and then glued onto the hat.
Step 8: Let It Dry
Allow your wizard hat to dry completely before trying it on or wearing it. This ensures that the fabric and any added decorations are securely in place.
Congratulations! You've successfully crafted your own wizard hat, ready to transport you to a world of magic and enchantment. Whether you're channeling your favorite wizard from literature or creating a unique mystical persona, your handmade hat is sure to turn heads at any magical gathering. Embrace the magic you've created and let your imagination soar!


